How to Deploy a Website on Netlify for Free (Step-by-Step Guide)
Learn how to deploy a website on Netlify for free with this beginner-friendly guide for HTML, CSS, JavaScript, React, Vue, and other front-end projects.
Publish your website with Netlify
Building a website is only half the journey. The next step is making it available on the internet so other people can visit it. You do not need an expensive hosting plan to publish a portfolio, landing page, or learning project.
Netlify provides a beginner-friendly way to deploy static websites and modern front-end applications. This guide explains both manual drag-and-drop deployment and automatic deployment from a Git repository.
What is Netlify?
Netlify is a cloud platform for building, deploying, and hosting web projects. It is commonly used for static websites and front-end applications whose production output contains HTML, CSS, JavaScript, images, and other browser assets.
A project connected to a Git provider can be rebuilt and published automatically whenever approved code is pushed. The free plan can be suitable for portfolios, student projects, experiments, and smaller sites, subject to the platform's current usage limits.
What you need before you start
Prepare the project and the accounts required for your chosen deployment method.
- A completed website or front-end project.
- A free Netlify account.
- A modern web browser.
- A GitHub, GitLab, or Bitbucket repository if you want automatic deployments.
- The production build command and output directory if you use a framework.
Step 1: Create a Netlify account

Visit Netlify and create an account using an available sign-in method. Connecting the Git provider that contains your project makes repository-based deployments easier because Netlify can read the selected repository and respond to future updates.
Review the current plan limits and account settings before publishing an important or high-traffic project.
Step 2: Prepare your website

Run the website locally and confirm that navigation, links, forms, images, and responsive layouts work. A simple static project should have index.html at the top level of the folder you intend to publish, alongside its styles, scripts, and assets.
Framework projects usually need a production build. React and Vue projects commonly produce a dist or build directory, depending on the toolchain. Deploy the generated output rather than the source directory when uploading manually.
| Project type | Typical build command | Common publish directory |
|---|---|---|
| Plain HTML, CSS, and JavaScript | No build required | Project folder containing index.html |
| Vue with Vite | npm run build | dist |
| React with Vite | npm run build | dist |
| Other frameworks | Check the project's scripts | Check framework documentation |
Step 3: Choose a deployment method
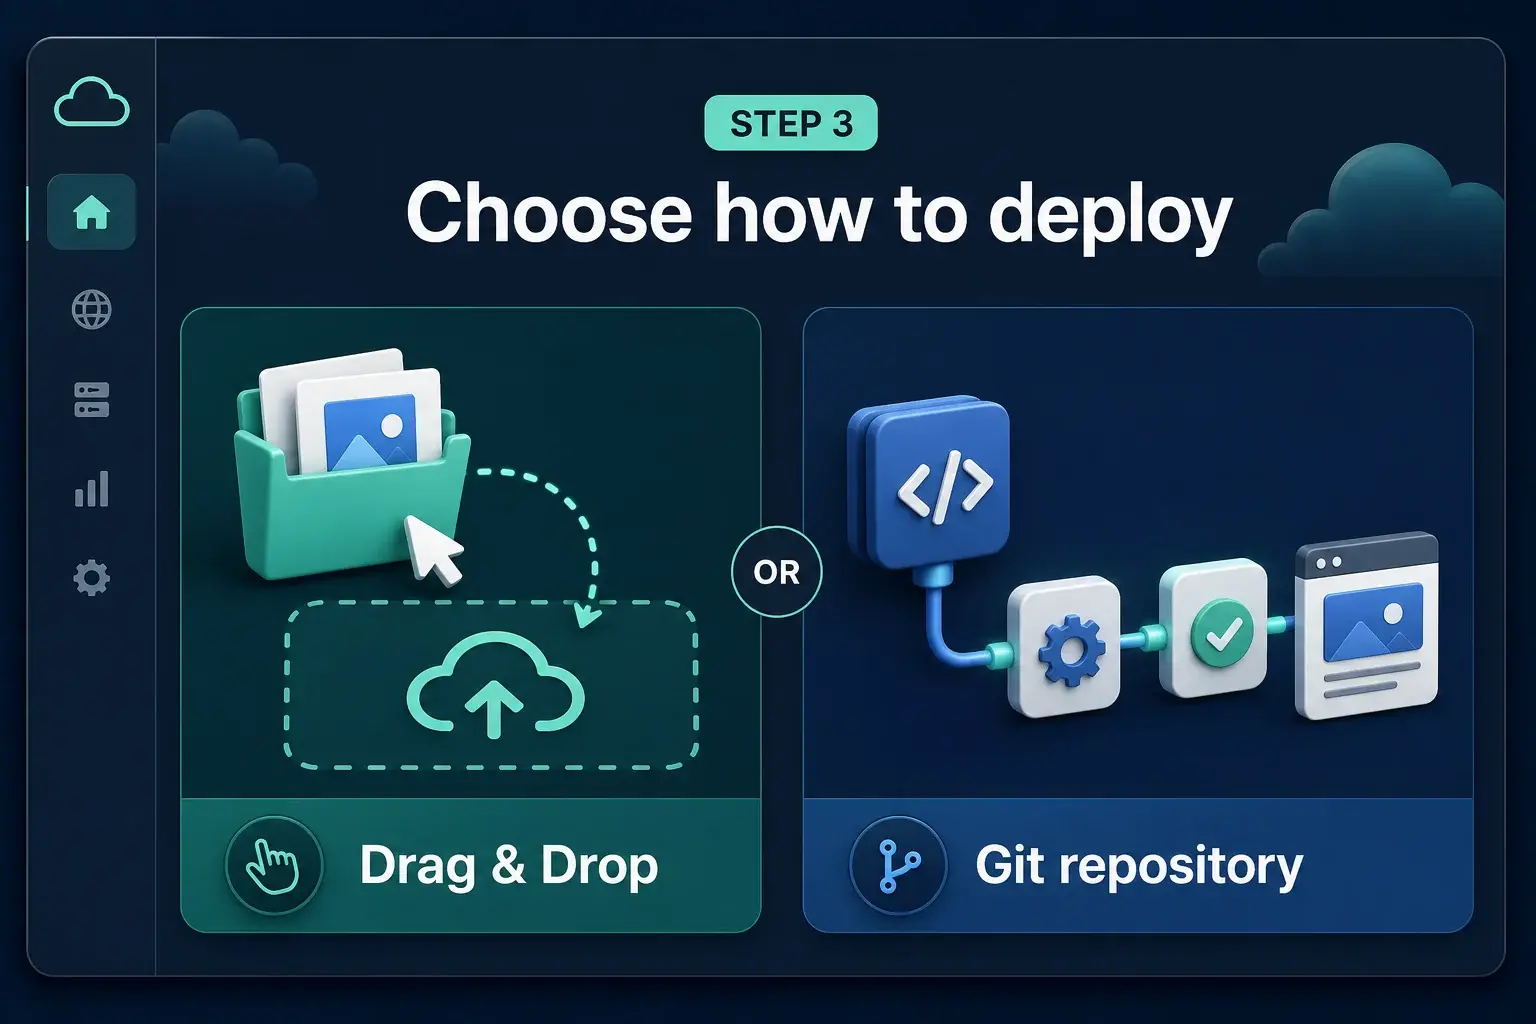
Netlify supports more than one workflow. Drag and drop is convenient for a first static deployment, while a connected repository is usually better for a project that will receive regular updates.
| Method | Best for | How updates work |
|---|---|---|
| Drag and drop | Quick demos and simple static sites | Build and upload the updated output again |
| Git repository | Projects under active development | Push code and let Netlify rebuild automatically |
Option 1: Deploy with drag and drop
Build the project first if its toolchain requires a production build. In the Netlify dashboard, open the manual deployment area and drag in the folder containing the final website files.
Wait for the upload and deployment to finish. Netlify assigns a public URL that you can open immediately. Test that URL in a private browser window so cached local files do not hide deployment problems.
- For a plain static site, upload the folder containing index.html.
- For a Vite project, run npm run build and upload dist.
- Do not upload node_modules.
- Upload generated production files, not an unrelated parent folder.
Option 2: Deploy from a Git repository
Choose the repository import option in the dashboard, authorize the Git provider, and select the project repository. Configure the production branch, build command, and publish directory when Netlify cannot detect them automatically.
Start the deployment and inspect the build log. After the site is connected, new pushes to the configured branch can trigger a fresh build and publish the latest successful version automatically.
- Confirm the correct repository and production branch.
- Use the project's actual build command, such as npm run build.
- Set the publish directory to the generated output, such as dist.
- Add required public environment variables through the site's settings.
- Never place private server secrets in browser-side application code.
Step 4: Customize and test the live URL
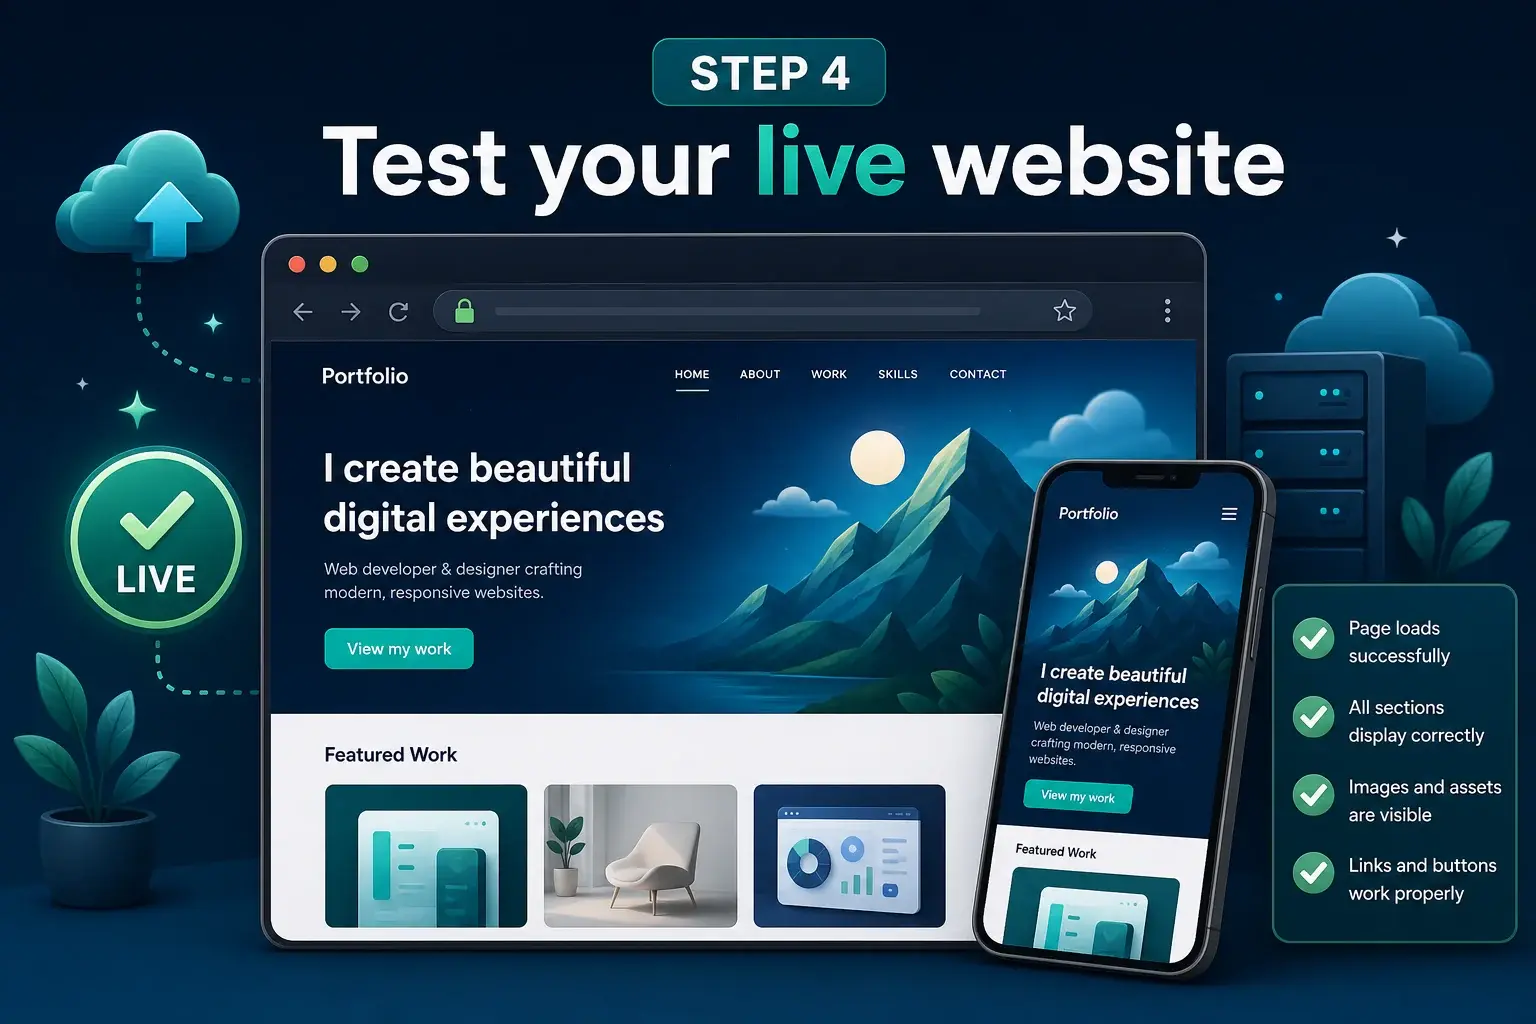
Netlify provides a generated subdomain after the first deployment. You can change the available site name or connect a custom domain through the domain settings.
Open the deployed site, follow every important navigation path, refresh nested routes, submit forms, inspect images, and check the browser console. A successful deployment status does not guarantee that every application feature works correctly.
Routing for React and Vue applications
Single-page applications that use browser history routing may work when navigating from the home page but return a 404 after refreshing a nested URL. The host must serve index.html for application routes that do not match a physical file.
Add the redirect or rewrite configuration recommended for your project and Netlify setup, then deploy again and test direct visits to nested routes. Do not use a catch-all rule for real server endpoints that require different behavior.
Real-world example
Imagine that you created a portfolio to showcase your projects. Instead of sending screenshots to employers or clients, deploy the portfolio and share its public link.
When the site is connected to a Git repository, adding a new project becomes a normal code update: commit the change, push it to the production branch, wait for a successful build, and verify the live result.
Common mistakes to avoid
- Uploading the source folder instead of the generated production folder.
- Forgetting to build a React or Vue project before a manual upload.
- Using absolute local file paths that cannot work on the web.
- Configuring the wrong build command or publish directory.
- Ignoring deployment logs after a failed build.
- Forgetting the single-page application routing fallback.
- Exposing private API keys in frontend environment variables.
- Assuming the live site works without testing it.
Deployment best practices
- Keep the project in version control and commit the dependency lockfile.
- Test locally before every deployment.
- Optimize large images and other assets.
- Use clear production environment settings.
- Review build logs and verify the live URL after releases.
- Connect a custom domain and HTTPS when appropriate.
- Monitor usage, errors, and current plan limits.
- Keep a known-good version available for recovery.
Frequently asked questions
Is Netlify free? Netlify offers a free plan that may fit personal sites, portfolios, and learning projects. Features and usage limits can change, so confirm the current plan before relying on it for a production business.
Can I deploy React or Vue? Yes. Configure the project's build command and publish the generated output directory.
Can I use my own domain? Yes. A custom domain can be connected through the site's domain configuration.
Do I need coding experience? Basic knowledge of project files and build commands is helpful, but a simple static site can be deployed with a straightforward manual upload.
Key takeaways
- Netlify can host static websites and front-end application builds.
- Drag and drop is useful for a quick manual deployment.
- Git integration supports repeatable automatic deployments.
- Framework projects must publish the correct production output directory.
- Build logs help diagnose failed releases.
- Client-side routing may require a fallback to index.html.
- Every deployment should be followed by live-site verification.
Final thoughts
Learning to deploy a website completes the development workflow. A project becomes far more useful when users, classmates, employers, or clients can open a real link and interact with it.
Start with a simple manual deployment, then move to a connected repository when you want reliable automatic updates. As the project grows, explore custom domains, environment configuration, monitoring, and a repeatable release process.
Keep reading